|
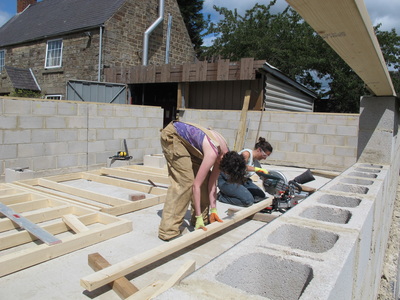
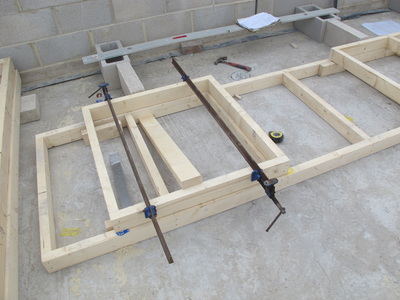
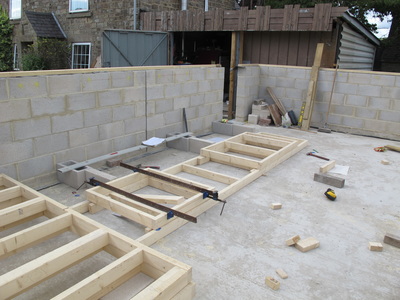
Excited to make a start on the timber frame panels. Thanks to a Wild Peak work weekend we had 2 great volunteers who spent the day cutting 100x50 (4x2") C24 graded timber to a variety of lengths with the fantastic new chop saw. These were then pinned together with 90mm nails fired in by a borrowed nail gun - fast work. Sash clamps useful for holding frames in place while nailing, diagonals checked repeatedly to ensure squareness. By the end of the day we had frames for the west and north elevation complete up to the level of the edge beam. Although it would have been very satisfying to put them up they'd be vulnerable to warping in the sun and rain, so covered in tarpaulin until the rest are completed... Once up they'll be sheathed in 18mm plywood to keep the structure rigid, then insulation, a breather membrane and external cladding..... before winter sets in!
1 Comment
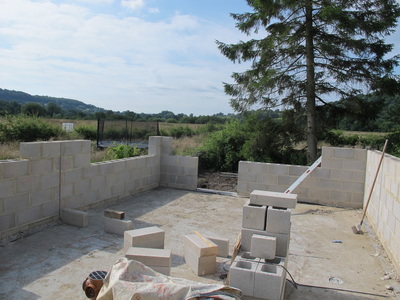
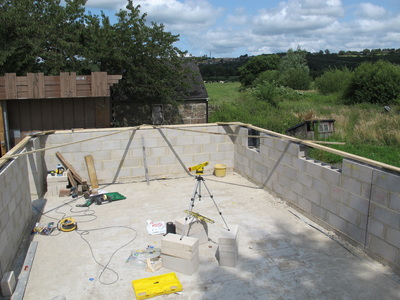
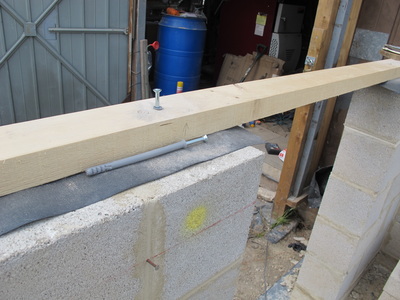
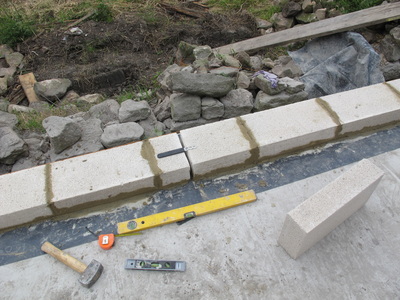
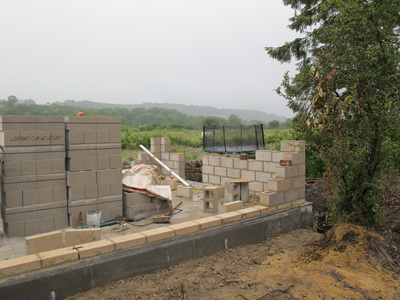
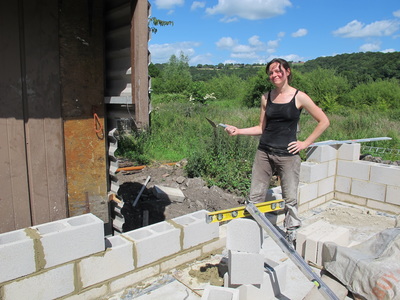
Blockwork now finished, leaving openings for doors and windows. Although blockwork courses had been vertically co-ordinated with openings at the design stage some minor adjustment of window sizes took place to favour whole blocks by openings (the internal finish will just be painted, no plaster, so we took more care than you would if you were plastering). We laid out 100mm blocks on their sides to show the internal layout - a sense of space developing. We used a laser level to check the level of the finished blockwork, then marked a continuous horizontal line around the inside of the wall near the top. This gave a datum to measure up from to set out the Sole Plate. The Sole plate is necessary to get a level and square base to build the timber frame off - as the frames are to be prefabricated there will be minimal adjustment possible as they're erected. The idea is to get them to fit right first time. Every third hole in the top row of blocks is filled with concrete giving a secure fixing for 160x10mm frame fixings, plastic window fitters packers were used to pack the sole plate up to a level.
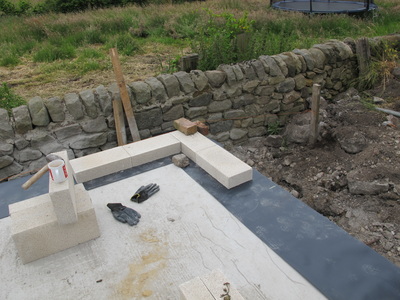
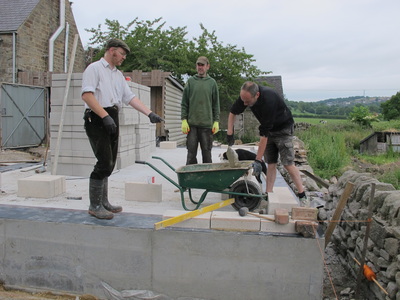
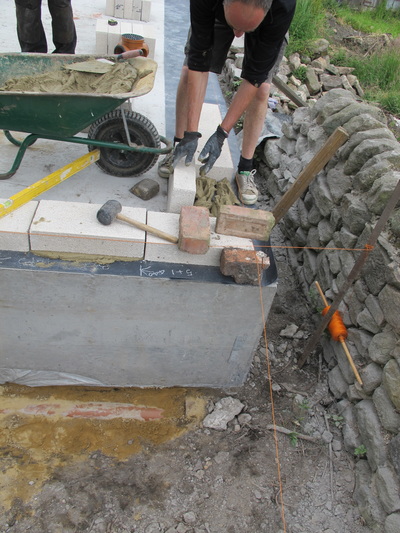
After striking the formwork and returning it to the hirer we got the lovely Tony in to give us a days training in laying blockwork. A 450mm wide d.p.c. is laid around the edge of the raft, the blocks are laid 100mm in from the outside edge - this will allow for 100mm of rigid insulation to be installed, wrapping the masonry like a tea cosy to make the most of the thermal mass. We laid a course of 100mm blocks on their sides first - as the blockwork will be exposed on the inside it is important (to me!) to co-ordinate the blocks to minimise cutting around windows etc. Tony helped us set out our string lines (marking the alignment of each course) and build up the corners & away we went.
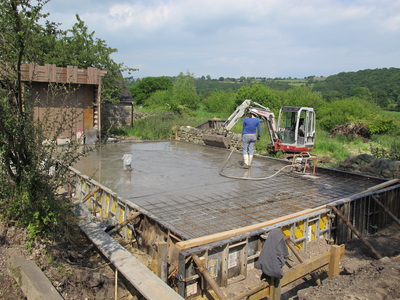
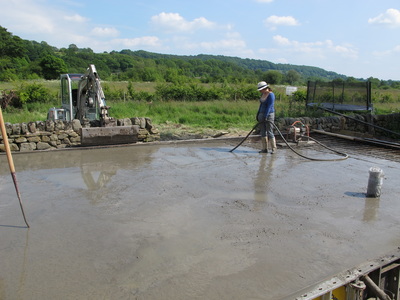
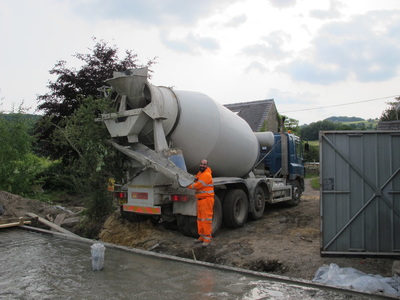
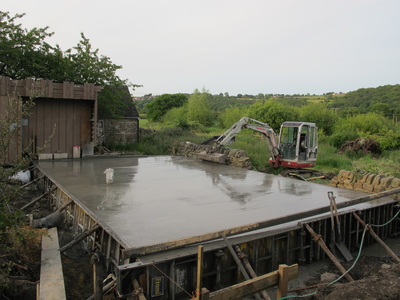
We used a mix of 1:1:6 cement: hydrated lime: building sand. The lime (although not as environmentally friendly as hydraulic lime reduces the amount of cement required and increases plasticity). As the wall will be clad on the outside a strong mix to resist weathering isn't required. According to the Inventory of Carbon and Energy (ICE) carried out by the University of Bath a 1:1:6 mix is responsible for 0.163KgC02/Kg whereas 1:4 cement:sand would produce 0.177KgC02/Kg - a small saving. Pouring concrete is stressful on any site, once its not turning in the mixer it starts curing whether you're ready or not. Too hot, too cold, too wet - the weather can always throw a spanner in the works. I was anxious for months ahead, particularly because of our awkward site access. It was a hot day, and the time between loads was longer than we would have liked, so it started going off fast, but we changed the spec to make it wetter & in the end it was all poured. The driver was somewhat traumatised by our lane (narrow with lots of overhanging vegetation) and by our turning area (tight), but by the third load he had mastered it all. Sustainable? See earlier post on why we used concrete - resilience and robustness. We specified a 40%mix of PFA (Pulverised Fly Ash - waste from power stations) to reduce the cement content, but there is still a heavy carbon footprint associated with its use. We consider we made the best choice in the circumstances - it will also allow the use of further heavyweight materials at low level, increasing the thermal mass/ comfort of the final building & reducing heating/ cooling loads. The lower part of the raft foundation will be reburied, leaving 150mm or so exposed above ground level.
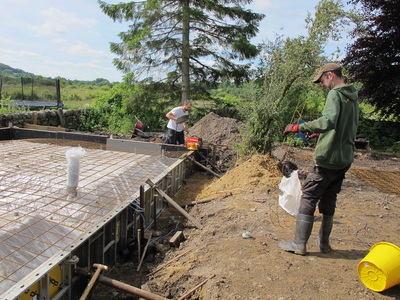
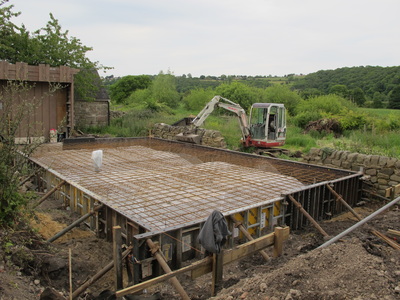
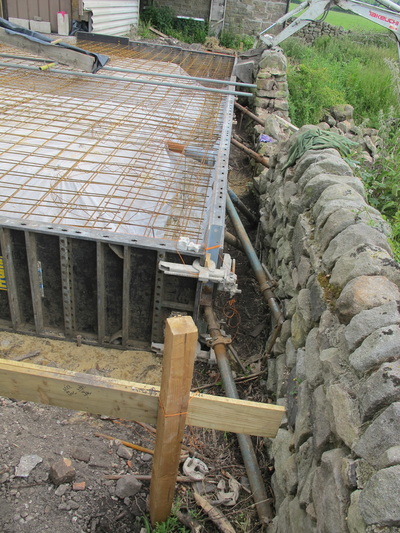
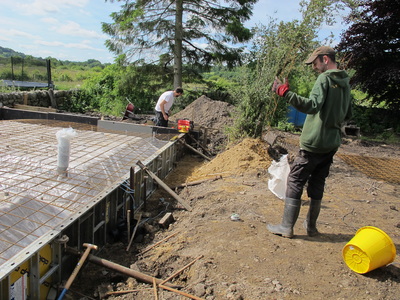
Steel and concrete have complementary properties, I don't fully understand it but it has to do with compression and tension and expansion and contraction. So our Structural Engineer specified 3 layers of reinforcement mesh, 1 at the bottom of the trenches, 1 just above the level of the pads and 1 just below the surface. Its important that the mesh isn't exposed to the elements in the future so we ensure its covered by a minimum of 35mm concrete all round. Special spacers hold the mesh off the pad, and the upper layers of mesh off the lower.
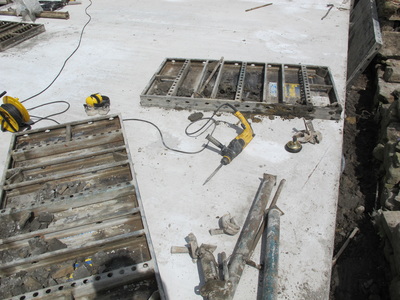
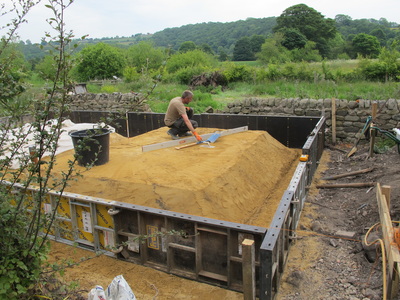
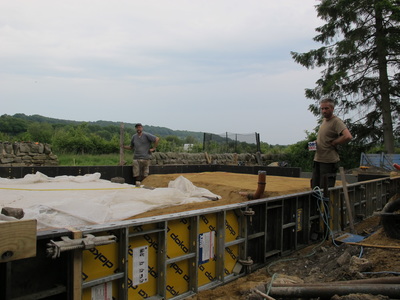
Installing diagonal bracing along the edge by the dry stone wall was problematic, so we had to take a section of the wall down and use the digger bucket to hold a section in place! As the blinding layer takes its final form we assembled the proprietary formwork - a clip together mould system for concrete. With approx 18m3 of concrete, weighing approx 40-50 tonnes, we don't want it escaping! Traditional formwork is built of timber, but requires a lot of it, much of which can't be re-used. We rented the panels and props for a 2 week period after which they'll get cleaned and sent on their next job. The formwork comes in different sizes, allowing us to set the depth of the foundation at 600mm on one side and 750mm on the other whilst keeping the top edges level for screeding. We used a water level (a device invented by the ancient egyptians) and spirit levels, to check this. The sections of formwork are clipped to each other at their edges, held at ground level by steel stakes, and braced at the top by adjustable props. The mould is lined with a sheet of thin polyethene, which stops the wet concrete losing too much water to the ground and drying out too fast - controlled curing is essential to gain the specified strength.
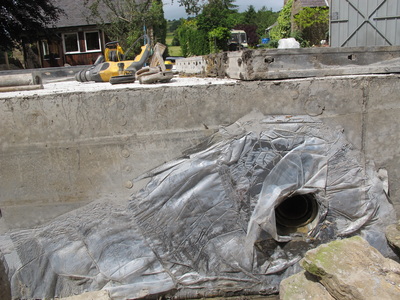
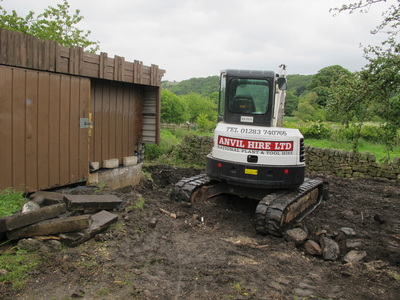
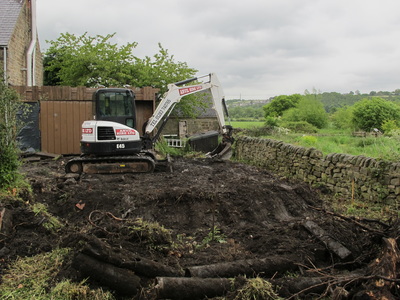
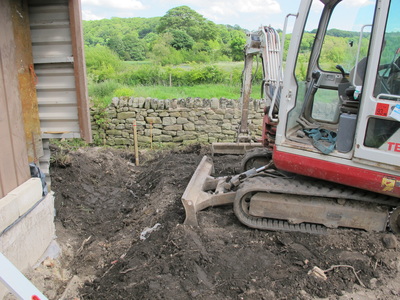
Also visible in the photos is a 110mm drain laid running through the floor & foundation, this will take future greywater from washbasin/ shower. First post! Jumping back a bit here to early June. We hired a 3tonne digger & got a 5tonner - great for pulling tree stumps, but access got a bit tight and we swapped down after a couple of days. The bearing capacity of the ground isn't great, so the raft foundation spreads the load of the building over the whole area. The edges and a central strip of the raft are thickened, stiffening it and taking the concrete down to below a level where frost damage could occur. Why concrete? Isn't it evil? Because of our location on the flood plain of the River Derwent we try to build in resilience. The best thing to do would probably be to build a boat and wait, but the planning authority might not like that. Our budgets won't stretch to a floating house, so if we used timber at low levels, there is a danger of it getting wet. Layers of insulation and damp proof membranes would impede drying out putting it at risk of rot, insect and fungal attack. So at low levels we stick to dense materials such as concrete, and use closed cell type insulation. Building to last is an important part of our environmental ethos. Blinding Aggregates!
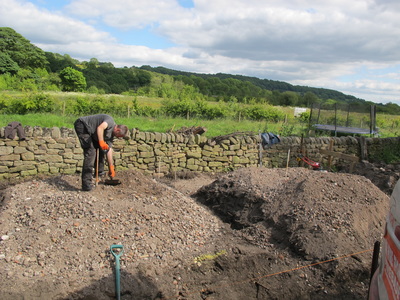
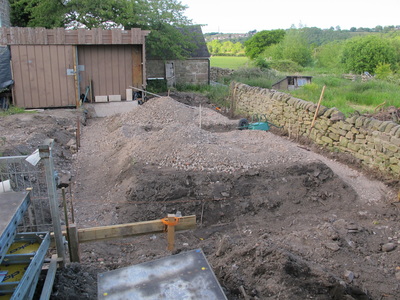
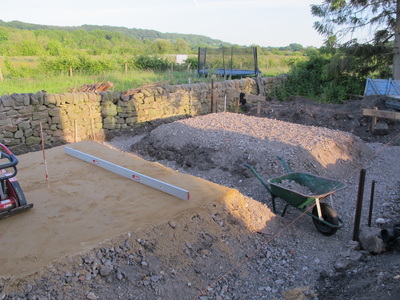
Below the concrete our Structural Engineer specified a 150mm thick layer of aggregate, well compacted. This is often virgin limestone from one of the many quarries in the Peak District - some of these are responsible for the destruction of important habitats and landscapes, so we specified crushed recycled construction waste. This is all squashed down with a petrol powered Plate Compactor and covered with a 25mm thick layer of Sand Blinding, giving a smoother layer and covering any pointy bits. The more precisely the foundation profile can be formed, the more precisely the volume of concrete required can be calculated, reducing waste. |
AuthorMike Hawkins is a co-op member and is responsible for the design and management of the build. He'll also live in it when its finished - hooray! He teaches future architects at Leicester DeMontfort and Birmingham City universities. Archives
November 2017
Categories |
This site is under construction
 RSS Feed
